Select your language
- „We have shaped the world of standards.“
- Firma
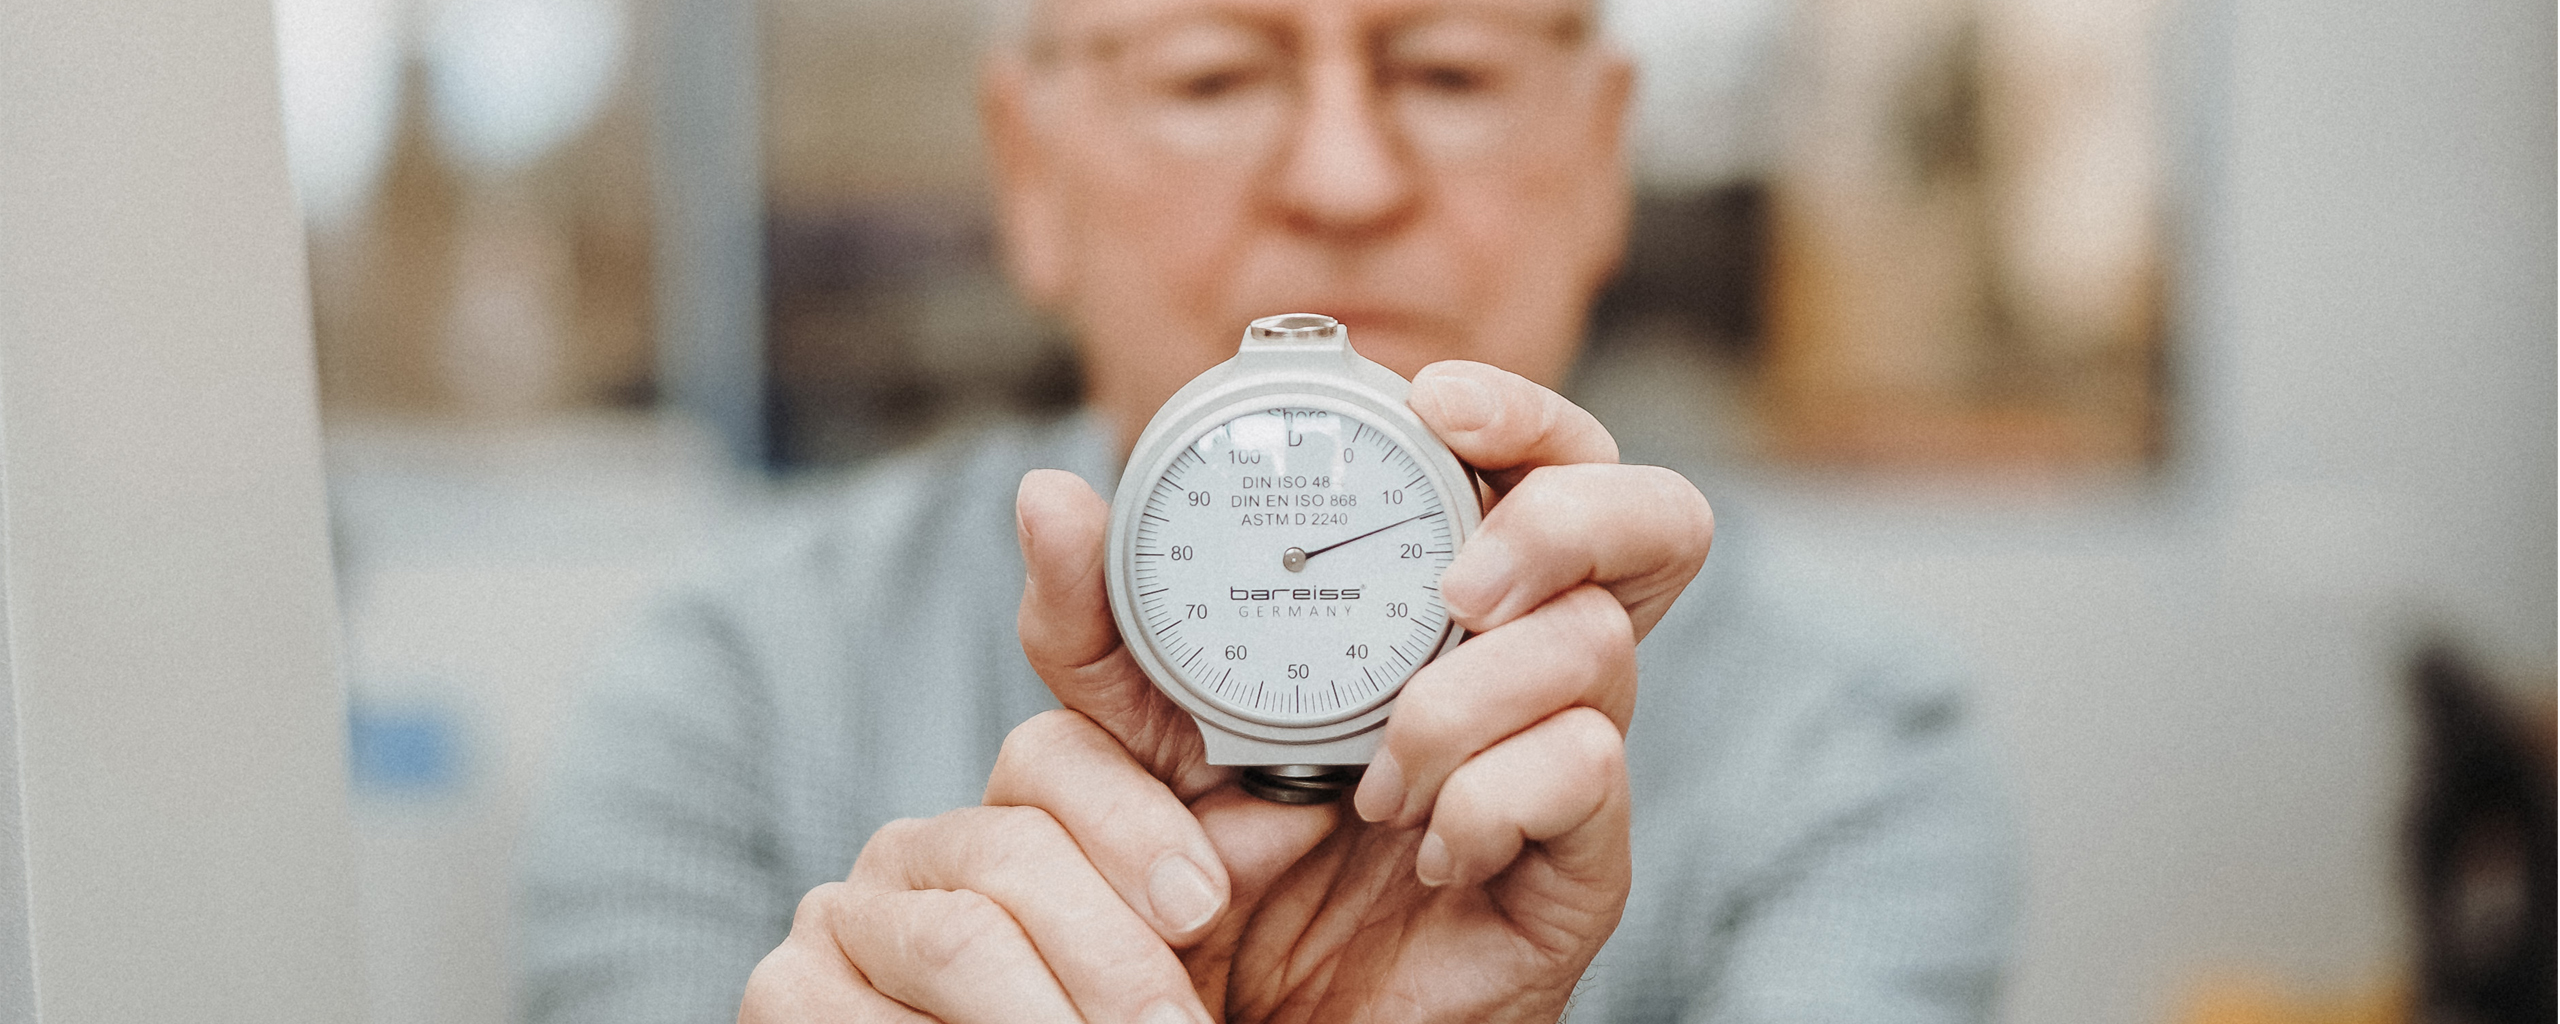
25 YEARS AFTER THE FIRST ACCREDITATION AS A DAkkS LABORATORY...
25 YEARS AFTER THE FIRST ACCREDITATION AS A DAkkS LABORATORY, PETER STROBEL, THE SECOND GENERATION MANAGING DIRECTOR OF BAREISS, OFFERS AN INTERESTING PERSPECTIVE ABOUT HIS JOURNEY AND SHARES HOW THE COMPANY FROM THE SWABIAN PROVINCE HAS INFLUENCED THE CALIBRATION OF HARDNESS TESTERS WORLDWIDE.
Mr. Strobel, this year Bareiss is celebrating its 25th anniversary as a DAkkS accredited laboratory. How did it all start in 1996?
At that time, our biggest concern was provability: we knew that we were producing testing equipment of the highest quality, but we couldn’t prove it. Certificates had to be issued by two bodies: the Office of Weights and Measures was responsible for the weight of the device, while the Material Testing Institute certified the geometry and measuring length of the device. In the end, the device received two certificates. That was a very tedious process, which was requested by more and more companies at that time. Our aspiration to the highest quality made us search for other options.
I thought it must also be possible to provide the customer with everything from a single source.Then, finally there was the opportunity for private companies to obtain accreditation from the German Calibration Service DKD. At that time, we recognized the trend that standardized calibration will gain more and more significance. Therefore, we were genuinely interested in obtaining an in-house certified test center.
How did the first accreditation process unfold back then?
At that time, we created a manual that defined the exact steps and work processes of the calibration, followed by the instruments to use for calibration and the accuracy instruments should have. Everything was illustrated and determined down to the smallest detail. The compilation of the comprehensive manual lasted for about two years. Everything took place in close collaboration with the National Metrology Institute of Germany.Excerpts from this manual have shaped calibration worldwide. Years later, on the basis of these documents, the international test standard for calibration according to DIN ISO 18898 was created. And we are still quite active in this area: since 1996, I have been a member of the German Standards Committee for Elastomers and Plastics. Now, this position has been taken over by my nephew Oliver Wirth. To this day, we are involved in the revision of international standards, receiving these for review and making suggestions for potential changes. As an ambitious manufacturer, this is an essential part of our work.
Bareiss was the first company in Germany to be accredited by the DKD. What was the response?
The announcement of our accreditation generated a great response from our customers and competition. The customers had been waiting to obtain everything from single source. The demand for DKD-certified devices increased significantly.What are the tasks of a DAkkS accredited laboratory?
First and foremost, of course one bears a huge responsibility. An absolutely neutral assessment is required, as the
DAkkS-certified calibration certificate means so much more than a factory
calibration certificate, with each company defining its own guidelines. We place a lot of value on the competence of our employees. As part of the accreditation, we include regular trainings, as well as the permanent maintenance and expansion of the instrument range. We are audited at specific intervals, which helps us maintain the accreditation. This is associated with a lot of effort and expenses. Today, our calibration laboratory is accredited according to DIN ISO/IEC 17025:2018.What are the advantages customers stand to gain by having their test devices certified in a DAkkS accredited laboratory?
DAkkS certificates are created in accordance with the current standard DIN ISO 48-9 (the former standard DIN ISO 18898), whereby all measuring values of the devices are comparable. This standard describes how the device must be calibrated, which measuring equipment should be used to this purpose and how high the accuracy, respectively the measuring uncertainty, may be. This comparability is essential for today’s production processes.With us, the customer receives everything from one single source. We check and service every device before certification and, as the case may be, replace parts. This makes the process much more efficient for the customer. For several years now, we have also been offering on-site calibration services. In this way, it is possible to avoid the problem of shipping, potential damages, or influencing the calibration.
In particular with our high-quality products, companies appreciate our service team, which quickly makes the devices operational on-site again. Nowadays, many test devices are directly connected to machines and the adjustment of the machine depends on the measured values that are delivered. As a manufacturer and DAkkS accredited laboratory, we always pay close attention to our customer’s requirements and needs. This allows us to develop practice-oriented and innovative implementations on a continuous basis. For example, we have developed Micro Shore A, Micro Shore D and VLRH, which were later included in the standards.
How can one envision the work done in the Bareiss laboratory?
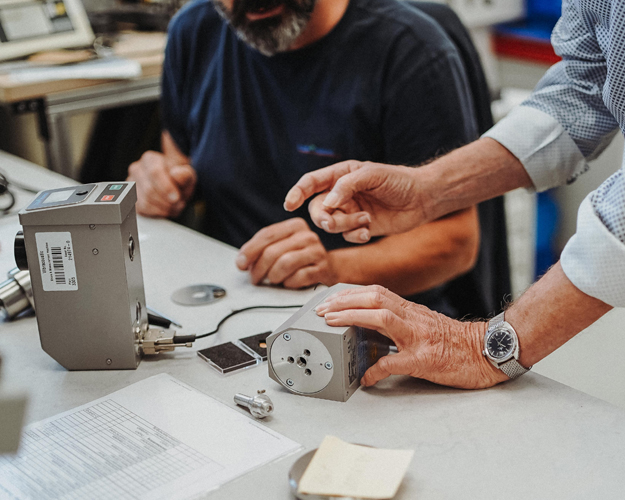
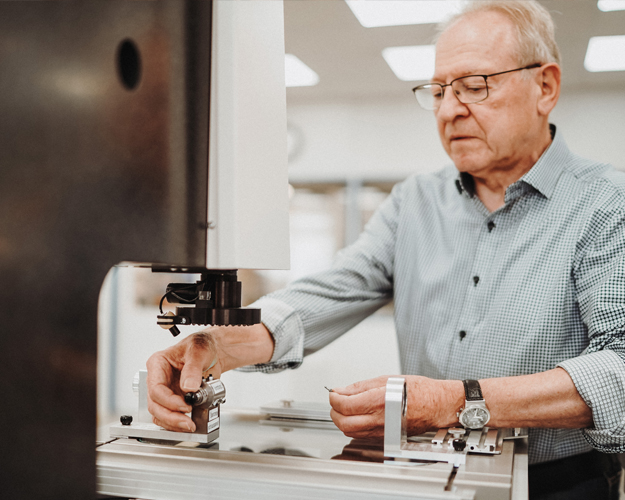
If one would look at the premises, he would discover that our laboratory consists of an air-conditioned clean room. This is a prerequisite for our conscientious work, at the highest standards, for which we have become known among our customers. Since 1996, we have issued about 50,000 certificates.How does the future of the laboratory look like?
As previously mentioned, on-site calibration is gaining more and more importance. Our service team is happy to go to the customer and, thus, ensure everything runs smoothly. Should on-site calibration not be possible, we provide rental equipment for the duration of the calibration. Our newly developed service packages offer more transparency and are tailored to the needs of our customers. Basically we want to be a partner for the laboratories, therefore we will extend the scope in future.Our endeavor is and always was to develop and provide the best for our customers. For this purpose, we are now in the third generation.

„We have shaped the world of standards.“
25 YEARS AFTER THE FIRST ACCREDITATION AS A DAkkS LABORATORY, PETER STROBEL, THE SECOND GENERATION MANAGING DIRECTOR OF BAREISS, OFFERS AN INTERESTING PERSPECTIVE ABOUT HIS JOURNEY AND SHARES HOW THE COMPANY FROM THE SWABIAN PROVINCE HAS INFLUENCED THE CALIBRATION OF HARDNESS TESTERS WORLDWIDE.
Mr. Strobel, this year Bareiss is celebrating its 25th anniversary as a DAkkS accredited laboratory. How did it all start in 1996?
At that time, our biggest concern was provability: we knew that we were producing testing equipment of the highest quality, but we couldn’t prove it. Certificates had to be issued by two bodies: the Office of Weights and Measures was responsible for the weight of the device, while the Material Testing Institute certified the geometry and measuring length of the device. In the end, the device received two certificates. That was a very tedious process, which was requested by more and more companies at that time. Our aspiration to the highest quality made us search for other options.
I thought it must also be possible to provide the customer with everything from a single source.
Then, finally there was the opportunity for private companies to obtain accreditation from the German Calibration Service DKD. At that time, we recognized the trend that standardized calibration will gain more and more significance. Therefore, we were genuinely interested in obtaining an in-house certified test center.
How did the first accreditation process unfold back then?
At that time, we created a manual that defined the exact steps and work processes of the calibration, followed by the instruments to use for calibration and the accuracy instruments should have. Everything was illustrated and determined down to the smallest detail. The compilation of the comprehensive manual lasted for about two years. Everything took place in close collaboration with the National Metrology Institute of Germany.
Excerpts from this manual have shaped calibration worldwide. Years later, on the basis of these documents, the international test standard for calibration according to DIN ISO 18898 was created. And we are still quite active in this area: since 1996, I have been a member of the German Standards Committee for Elastomers and Plastics. Now, this position has been taken over by my nephew Oliver Wirth. To this day, we are involved in the revision of international standards, receiving these for review and making suggestions for potential changes. As an ambitious manufacturer, this is an essential part of our work.
Bareiss was the first company in Germany to be accredited by the DKD. What was the response?
The announcement of our accreditation generated a great response from our customers and competition. The customers had been waiting to obtain everything from single source. The demand for DKD-certified devices increased significantly.
What are the tasks of a DAkkS accredited laboratory?
First and foremost, of course one bears a huge responsibility. An absolutely neutral assessment is required, as the
DAkkS-certified calibration certificate means so much more than a factory
calibration certificate, with each company defining its own guidelines. We place a lot of value on the competence of our employees. As part of the accreditation, we include regular trainings, as well as the permanent maintenance and expansion of the instrument range. We are audited at specific intervals, which helps us maintain the accreditation. This is associated with a lot of effort and expenses. Today, our calibration laboratory is accredited according to DIN ISO/IEC 17025:2018.
What are the advantages customers stand to gain by having their test devices certified in a DAkkS accredited laboratory?
DAkkS certificates are created in accordance with the current standard DIN ISO 48-9 (the former standard DIN ISO 18898), whereby all measuring values of the devices are comparable. This standard describes how the device must be calibrated, which measuring equipment should be used to this purpose and how high the accuracy, respectively the measuring uncertainty, may be. This comparability is essential for today’s production processes.
With us, the customer receives everything from one single source. We check and service every device before certification and, as the case may be, replace parts. This makes the process much more efficient for the customer. For several years now, we have also been offering on-site calibration services. In this way, it is possible to avoid the problem of shipping, potential damages, or influencing the calibration.
In particular with our high-quality products, companies appreciate our service team, which quickly makes the devices operational on-site again. Nowadays, many test devices are directly connected to machines and the adjustment of the machine depends on the measured values that are delivered. As a manufacturer and DAkkS accredited laboratory, we always pay close attention to our customer’s requirements and needs. This allows us to develop practice-oriented and innovative implementations on a continuous basis. For example, we have developed Micro Shore A, Micro Shore D and VLRH, which were later included in the standards.
How can one envision the work done in the Bareiss laboratory?
If one would look at the premises, he would discover that our laboratory consists of an air-conditioned clean room. This is a prerequisite for our conscientious work, at the highest standards, for which we have become known among our customers. Since 1996, we have issued about 50,000 certificates.
How does the future of the laboratory look like?
As previously mentioned, on-site calibration is gaining more and more importance. Our service team is happy to go to the customer and, thus, ensure everything runs smoothly. Should on-site calibration not be possible, we provide rental equipment for the duration of the calibration. Our newly developed service packages offer more transparency and are tailored to the needs of our customers. Basically we want to be a partner for the laboratories, therefore we will extend the scope in future.
Our endeavor is and always was to develop and provide the best for our customers. For this purpose, we are now in the third generation.

Trade fair appearances 2024
We look forward to presenting our appliances and innovations to you in person again this year.
Chinaplas Shanghai, China
Meet us in Shanghai from April 23-26, 2024, Booth H18.
DKT Nuremberg, Germany
Meet us from July 1 - 4, 2024 in Nuremberg, Hall 9, Booth 535.
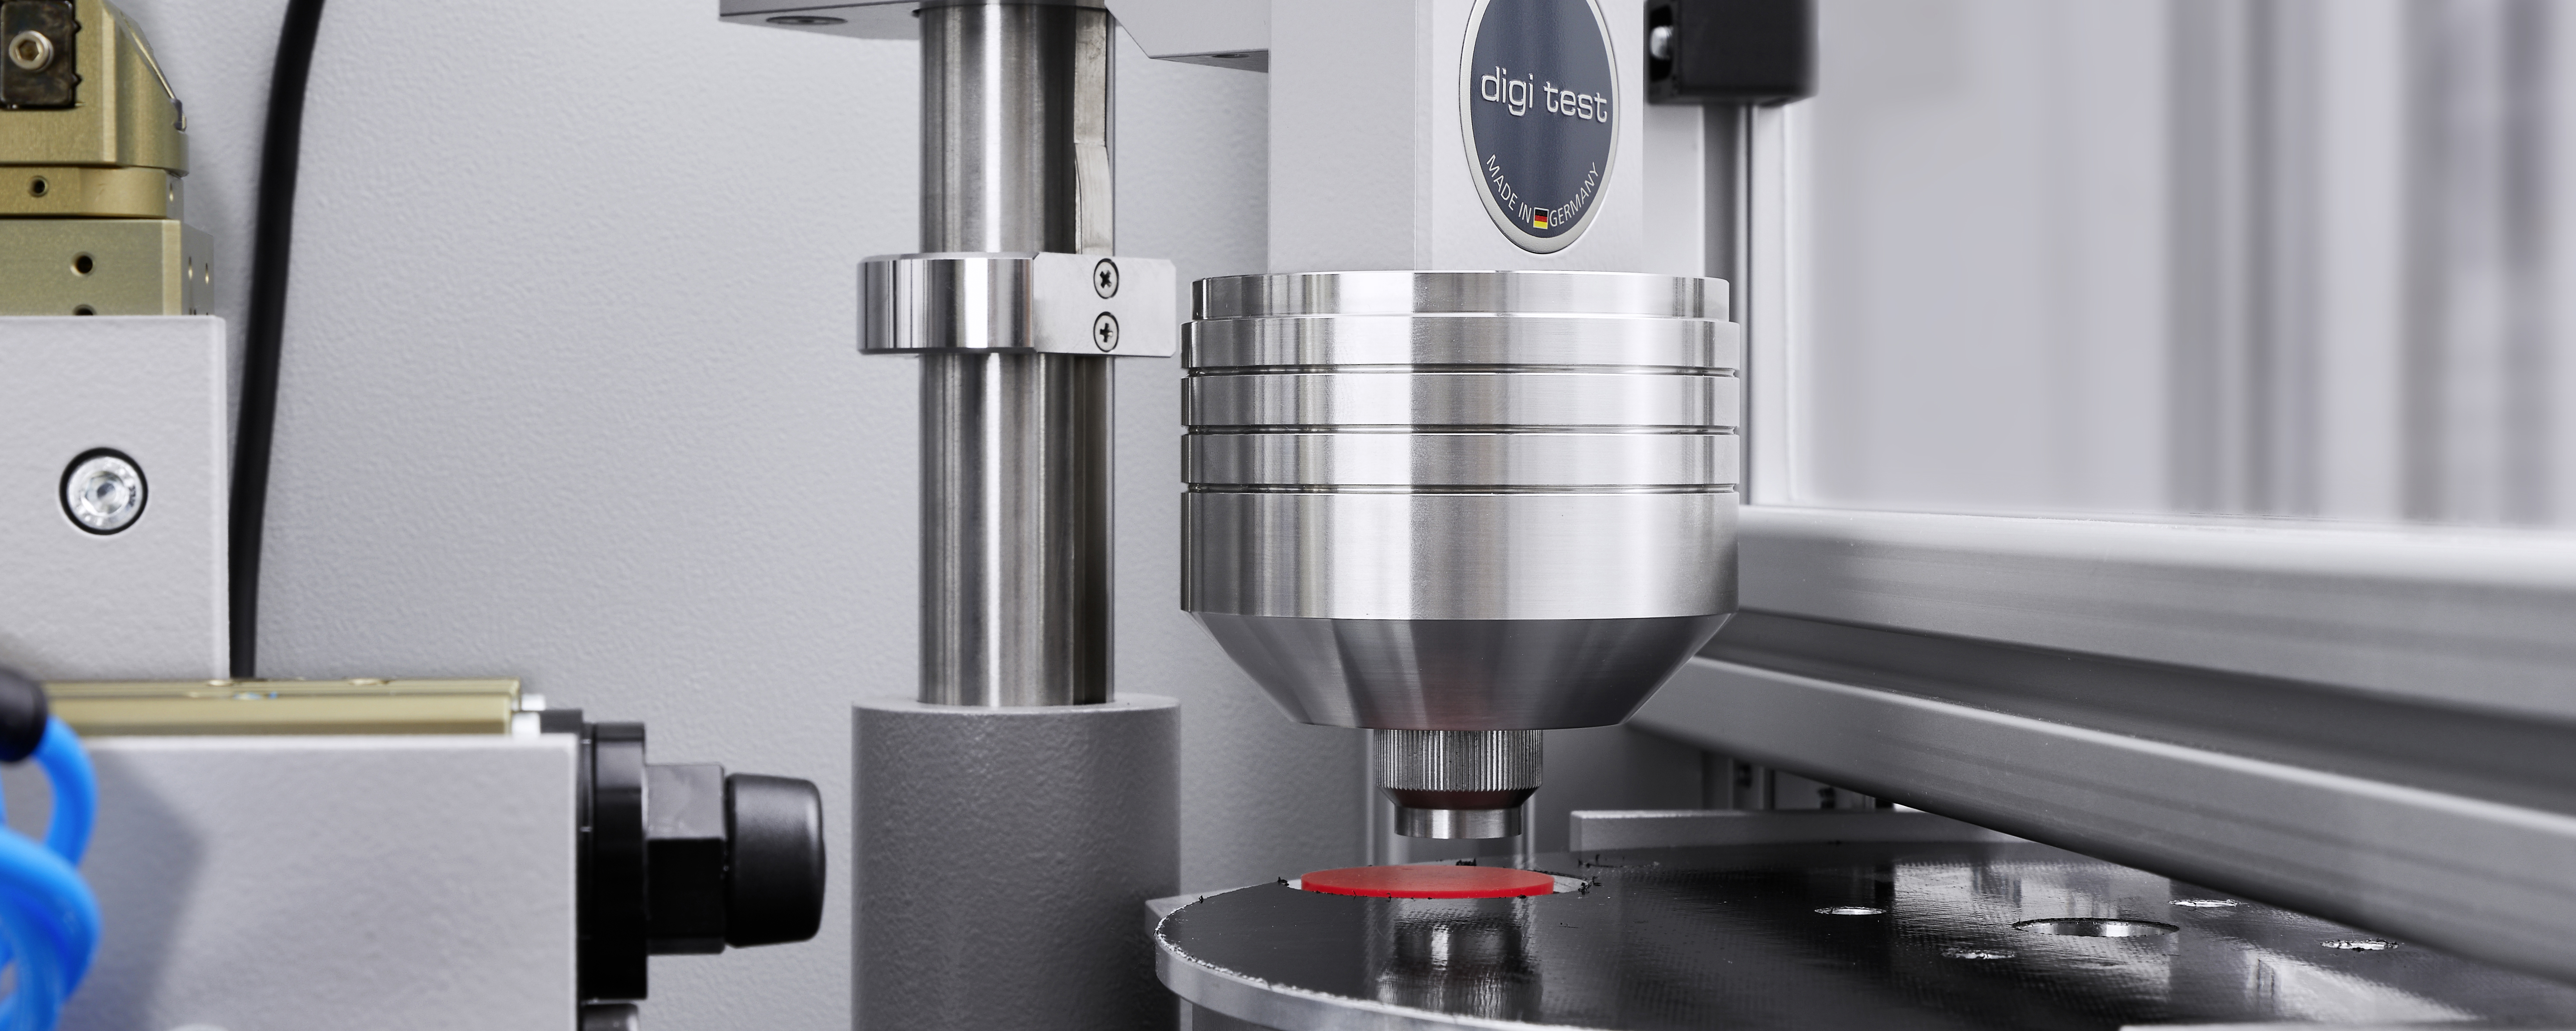
Automated determination of hardness and density with the HDA 120
Read the interview with Bareiss Managing Director Oliver Wirth to find out everything you need to know about our HDA 120 combined hardness-density machine for determining the hardness and density of flat test specimens made of rubber-elastic, non-foamed plastics, elastomers and other rubber products.
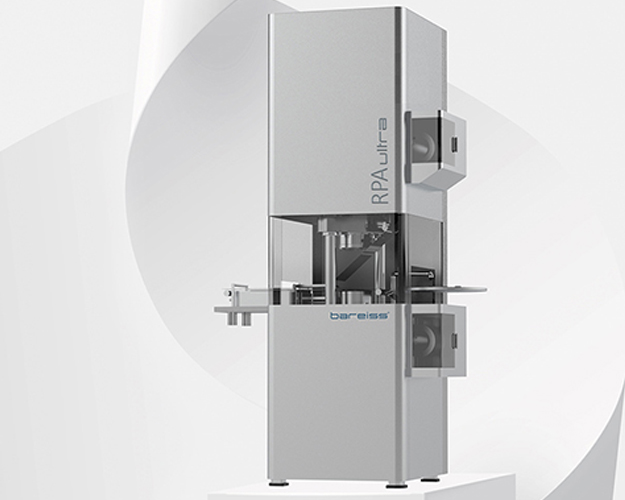
RPA ultra – The future of material testing starts now.
RPA ultra - The future of materials testing at starts now. Discover our world novelty.
