Select your language
- Automated determination of hardness and density with the HDA 120
- Produkte
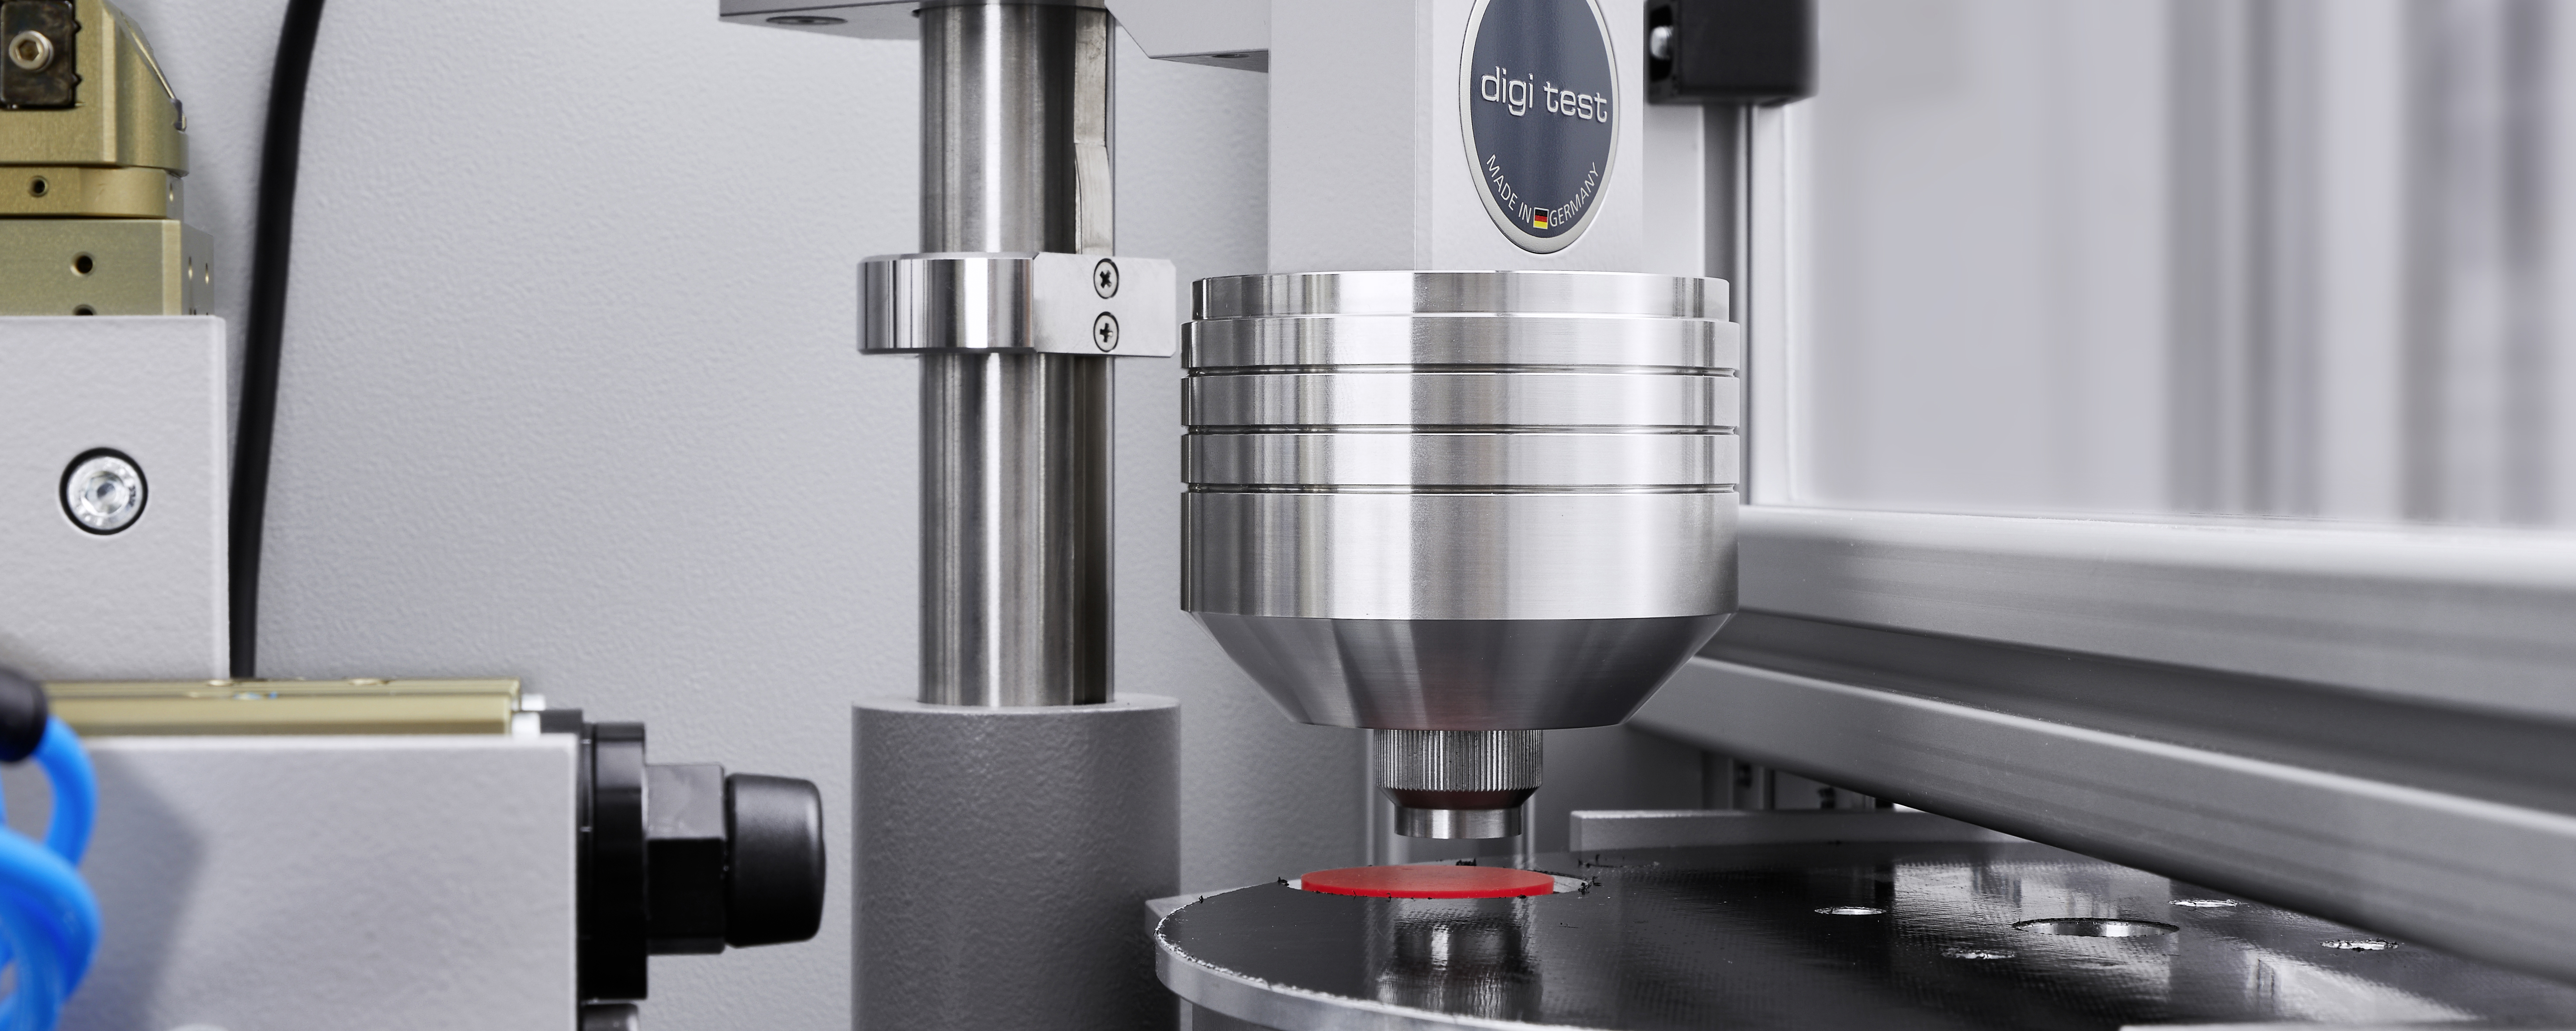
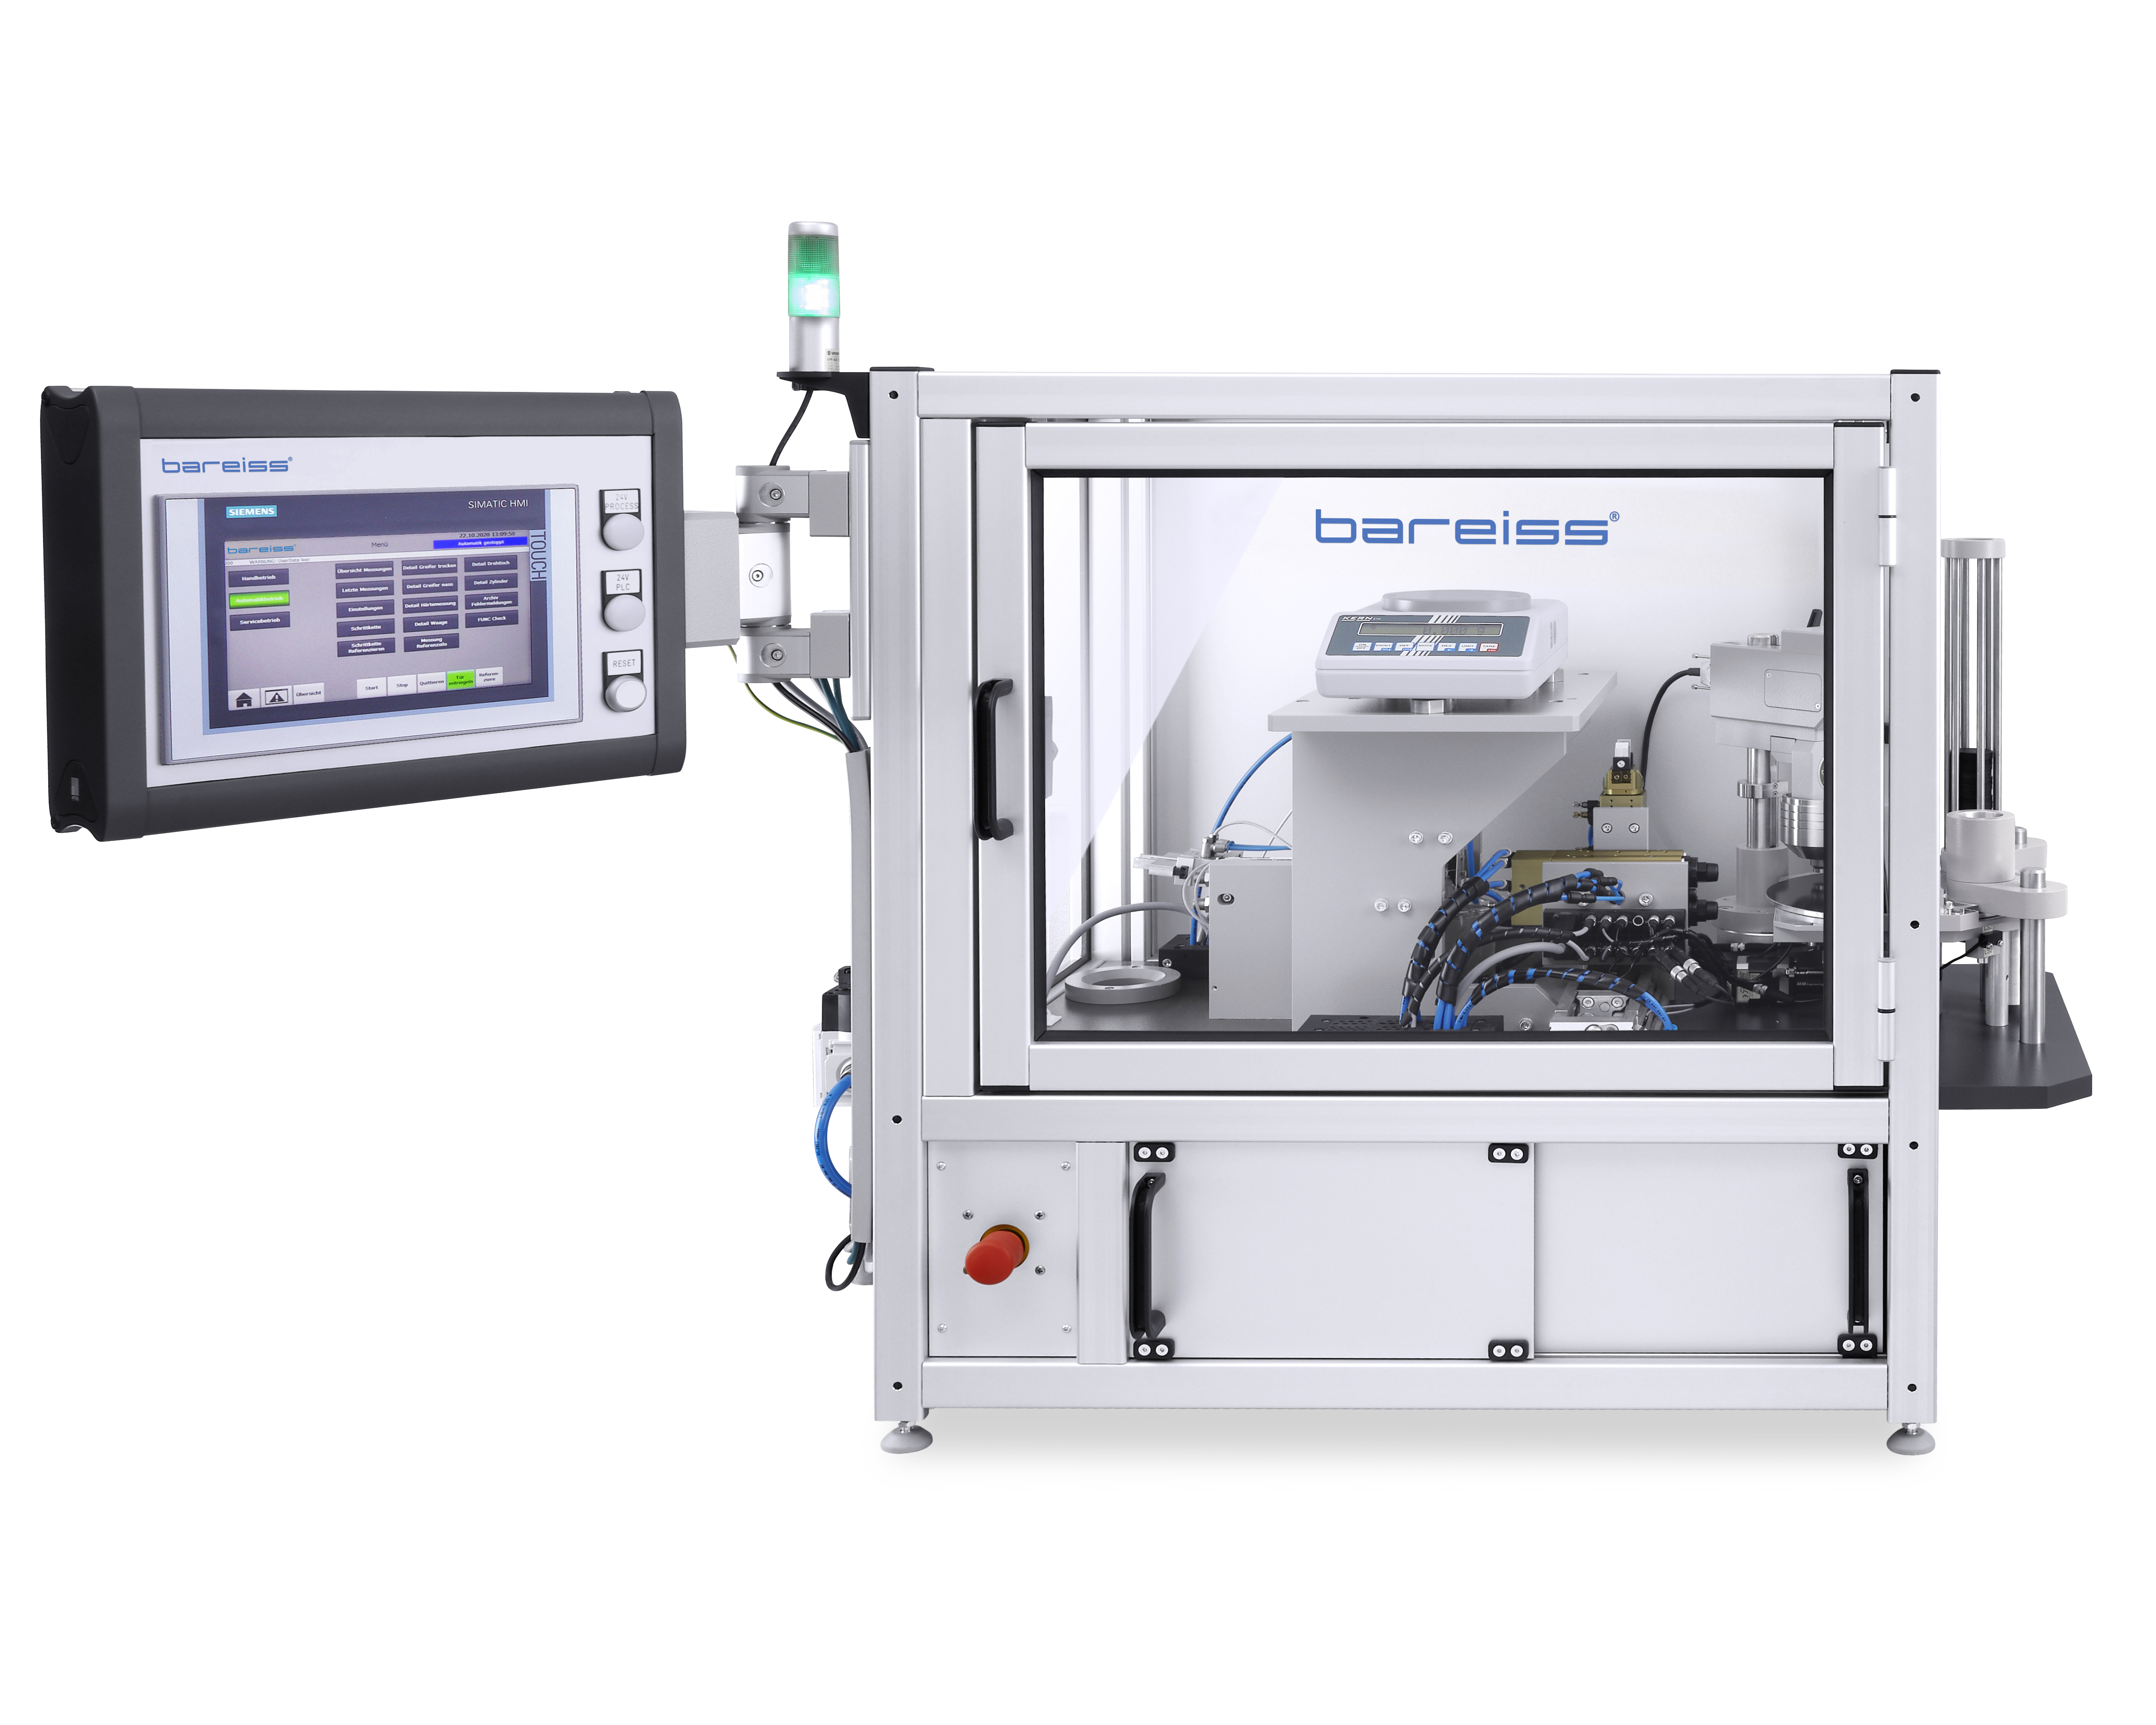
Read the interview with Bareiss Managing Director Oliver Wirth to find out everything you need to know about our HDA 120 combined hardness-density machine for determining the hardness and density of flat test specimens made of rubber-elastic, non-foamed plastics, elastomers and other rubber products.
How did you come up with the idea of combining hardness and density testing in one automation?
Generally-speaking, we see ourselves as a very customer-oriented partner on the market. Our customers are aware of this fact, and they always come to us with new ideas and desires. The same thing happened in this case.Some of these automations are already present on the market. How does your device distinguish from the others?
The HDA 120 test system was developed for use in rough industrials environments. This is also the reason why we have built it using only high-quality components.In this special case, specimens from a developed tire mixture had to be tested, and these are extremely sticky. Precisely these sticky specimens represented a challenge for the automatic measurement process.
Why does the stickiness of the specimens represent a particular challenge?
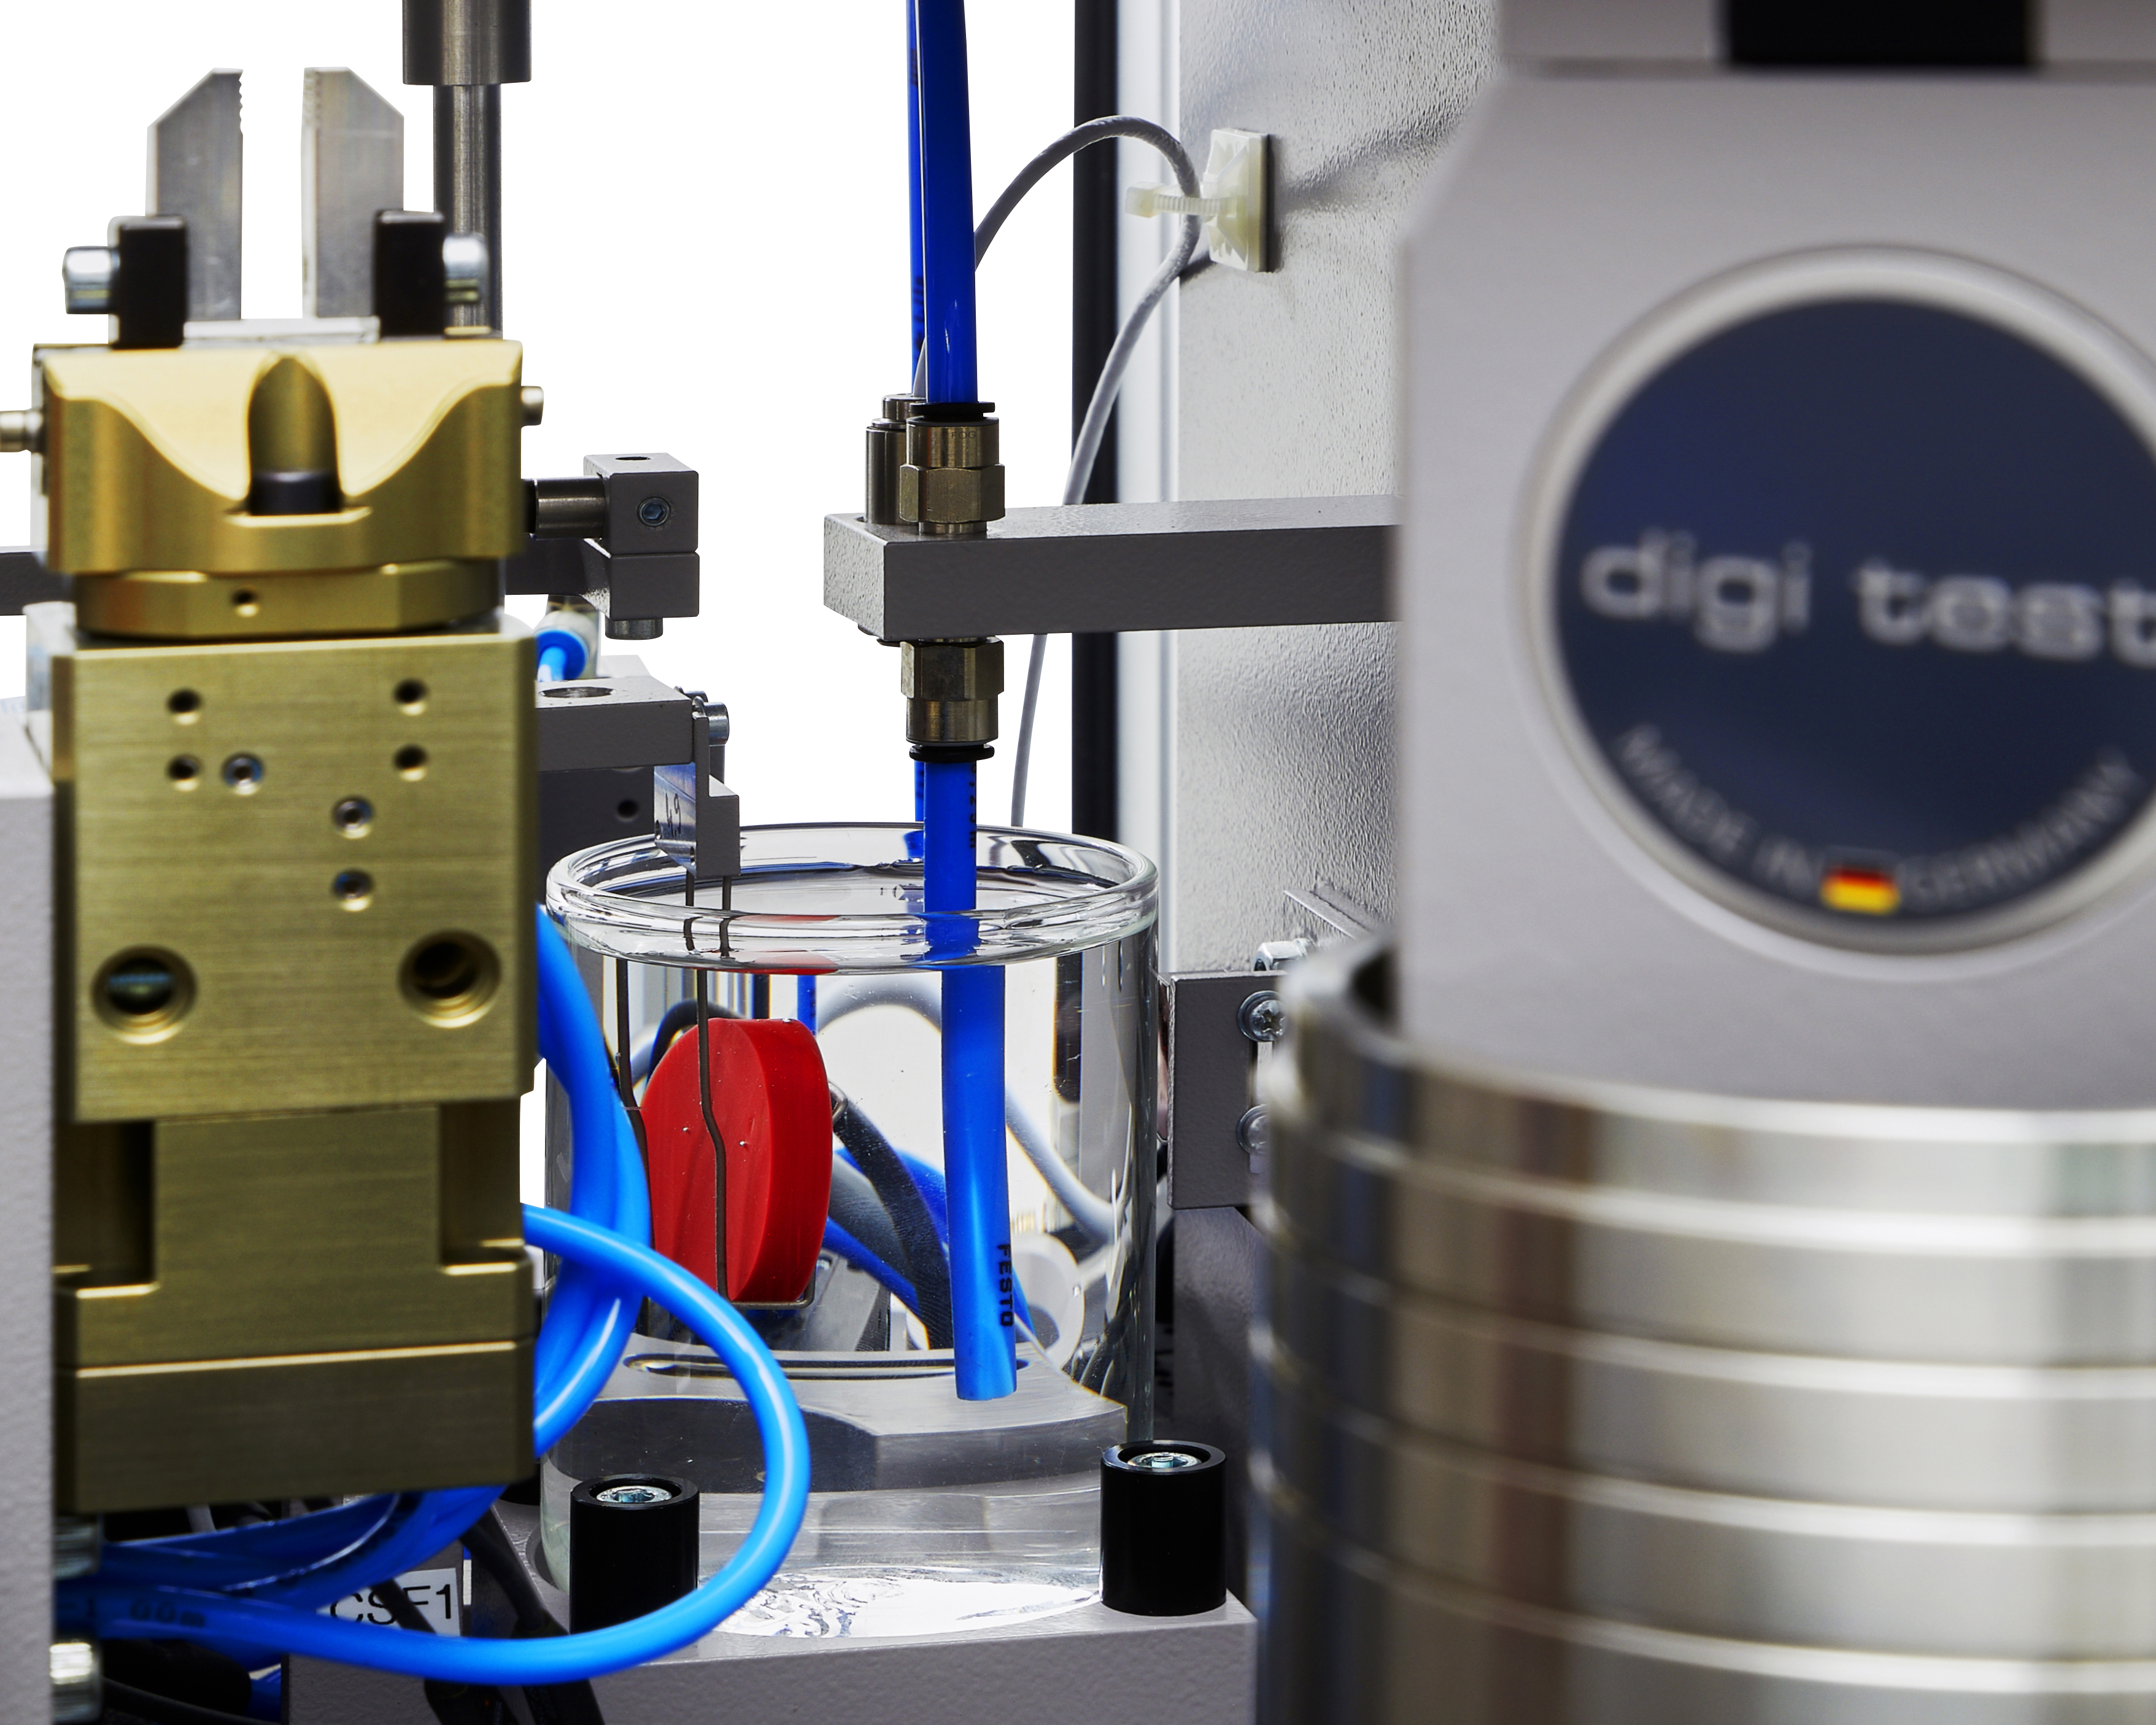
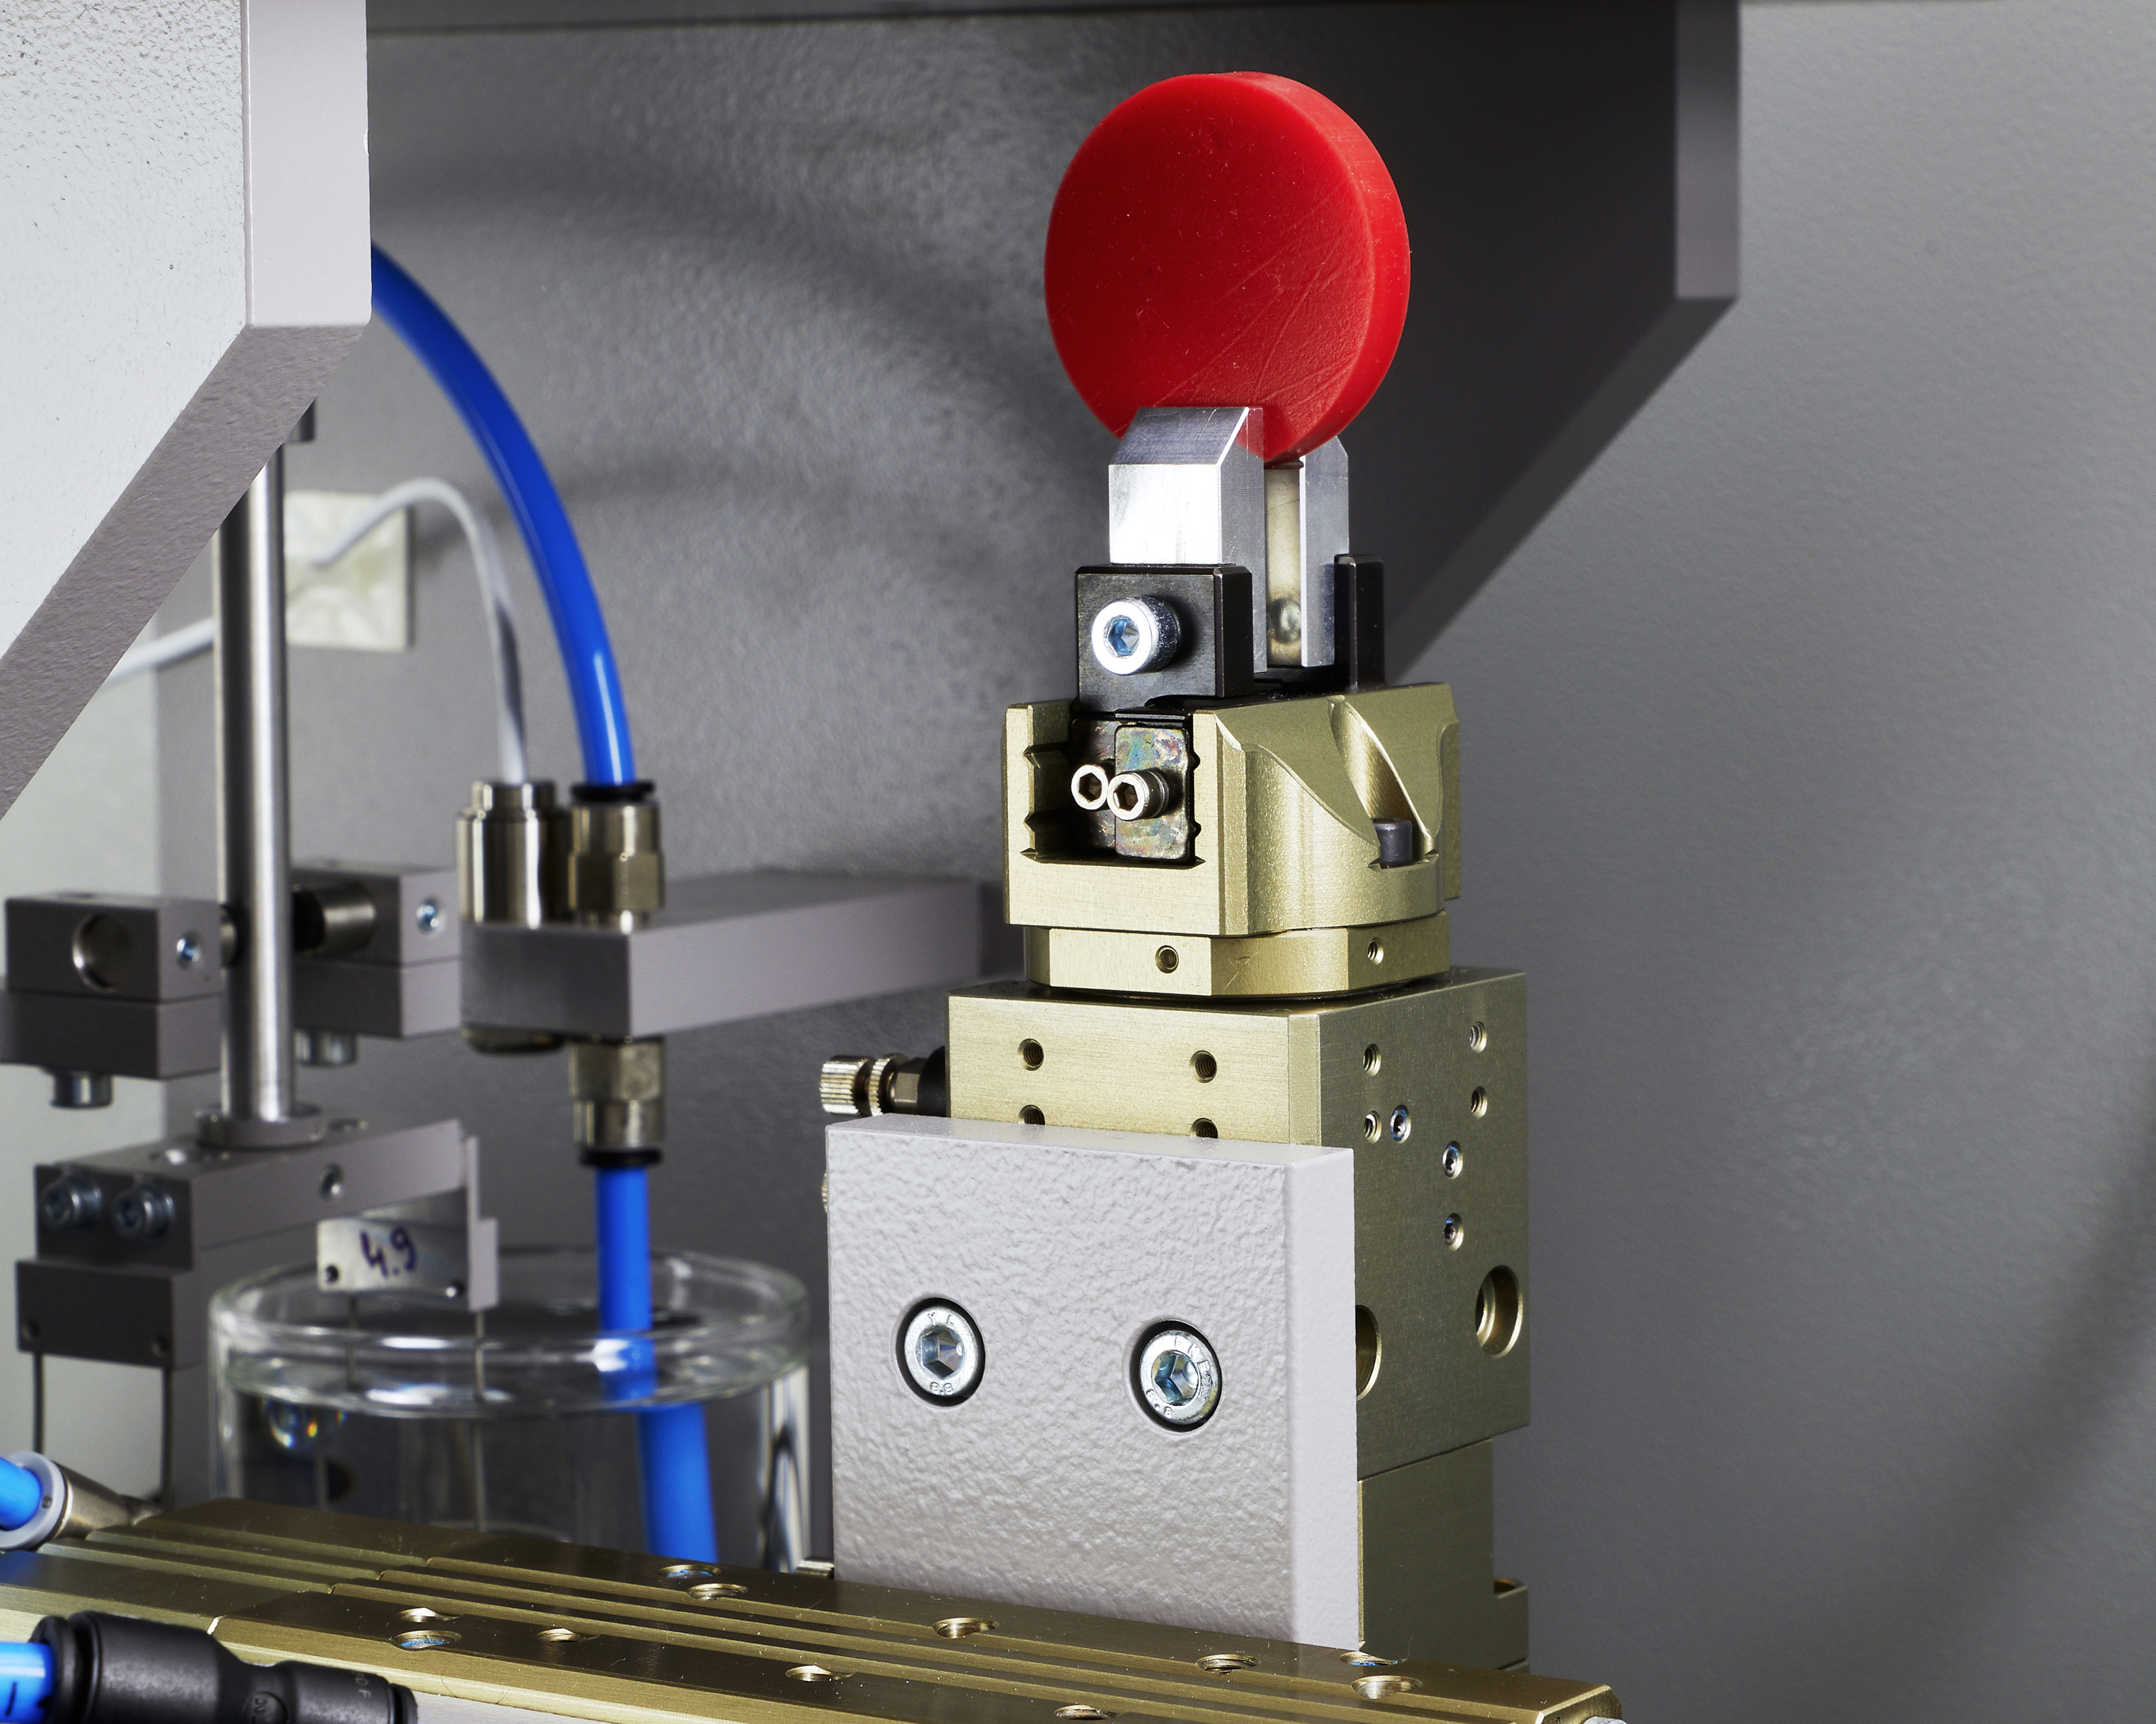
I will give you an example: the density is measured through the use of the immersion method. This method uses a scale with an underfloor function, on which a basket system is located, due to the automation. These baskets must be made from very fine wire to guarantee a highly accurate measurement. Now, we want to carry out the measurements to 0.0001 g, so we require high-precision weighing systems for this. The gripper brings a specimen, puts it in the measuring basket, opens the jaws and the specimen sticks to one of the jaws. Worst case scenario, the measuring system will be misaligned after this action.How did you solve this problem?
In the situation of the grippers, we have developed our own jaws, which eject the specimen through force. Of course, that didn’t function right away, requiring several repetition steps. Special hold-down devices help, for instance, during the hardness testing, to remove the specimen from the pressure plate of the hardness tester.
What does the test sequence of the machine look like?
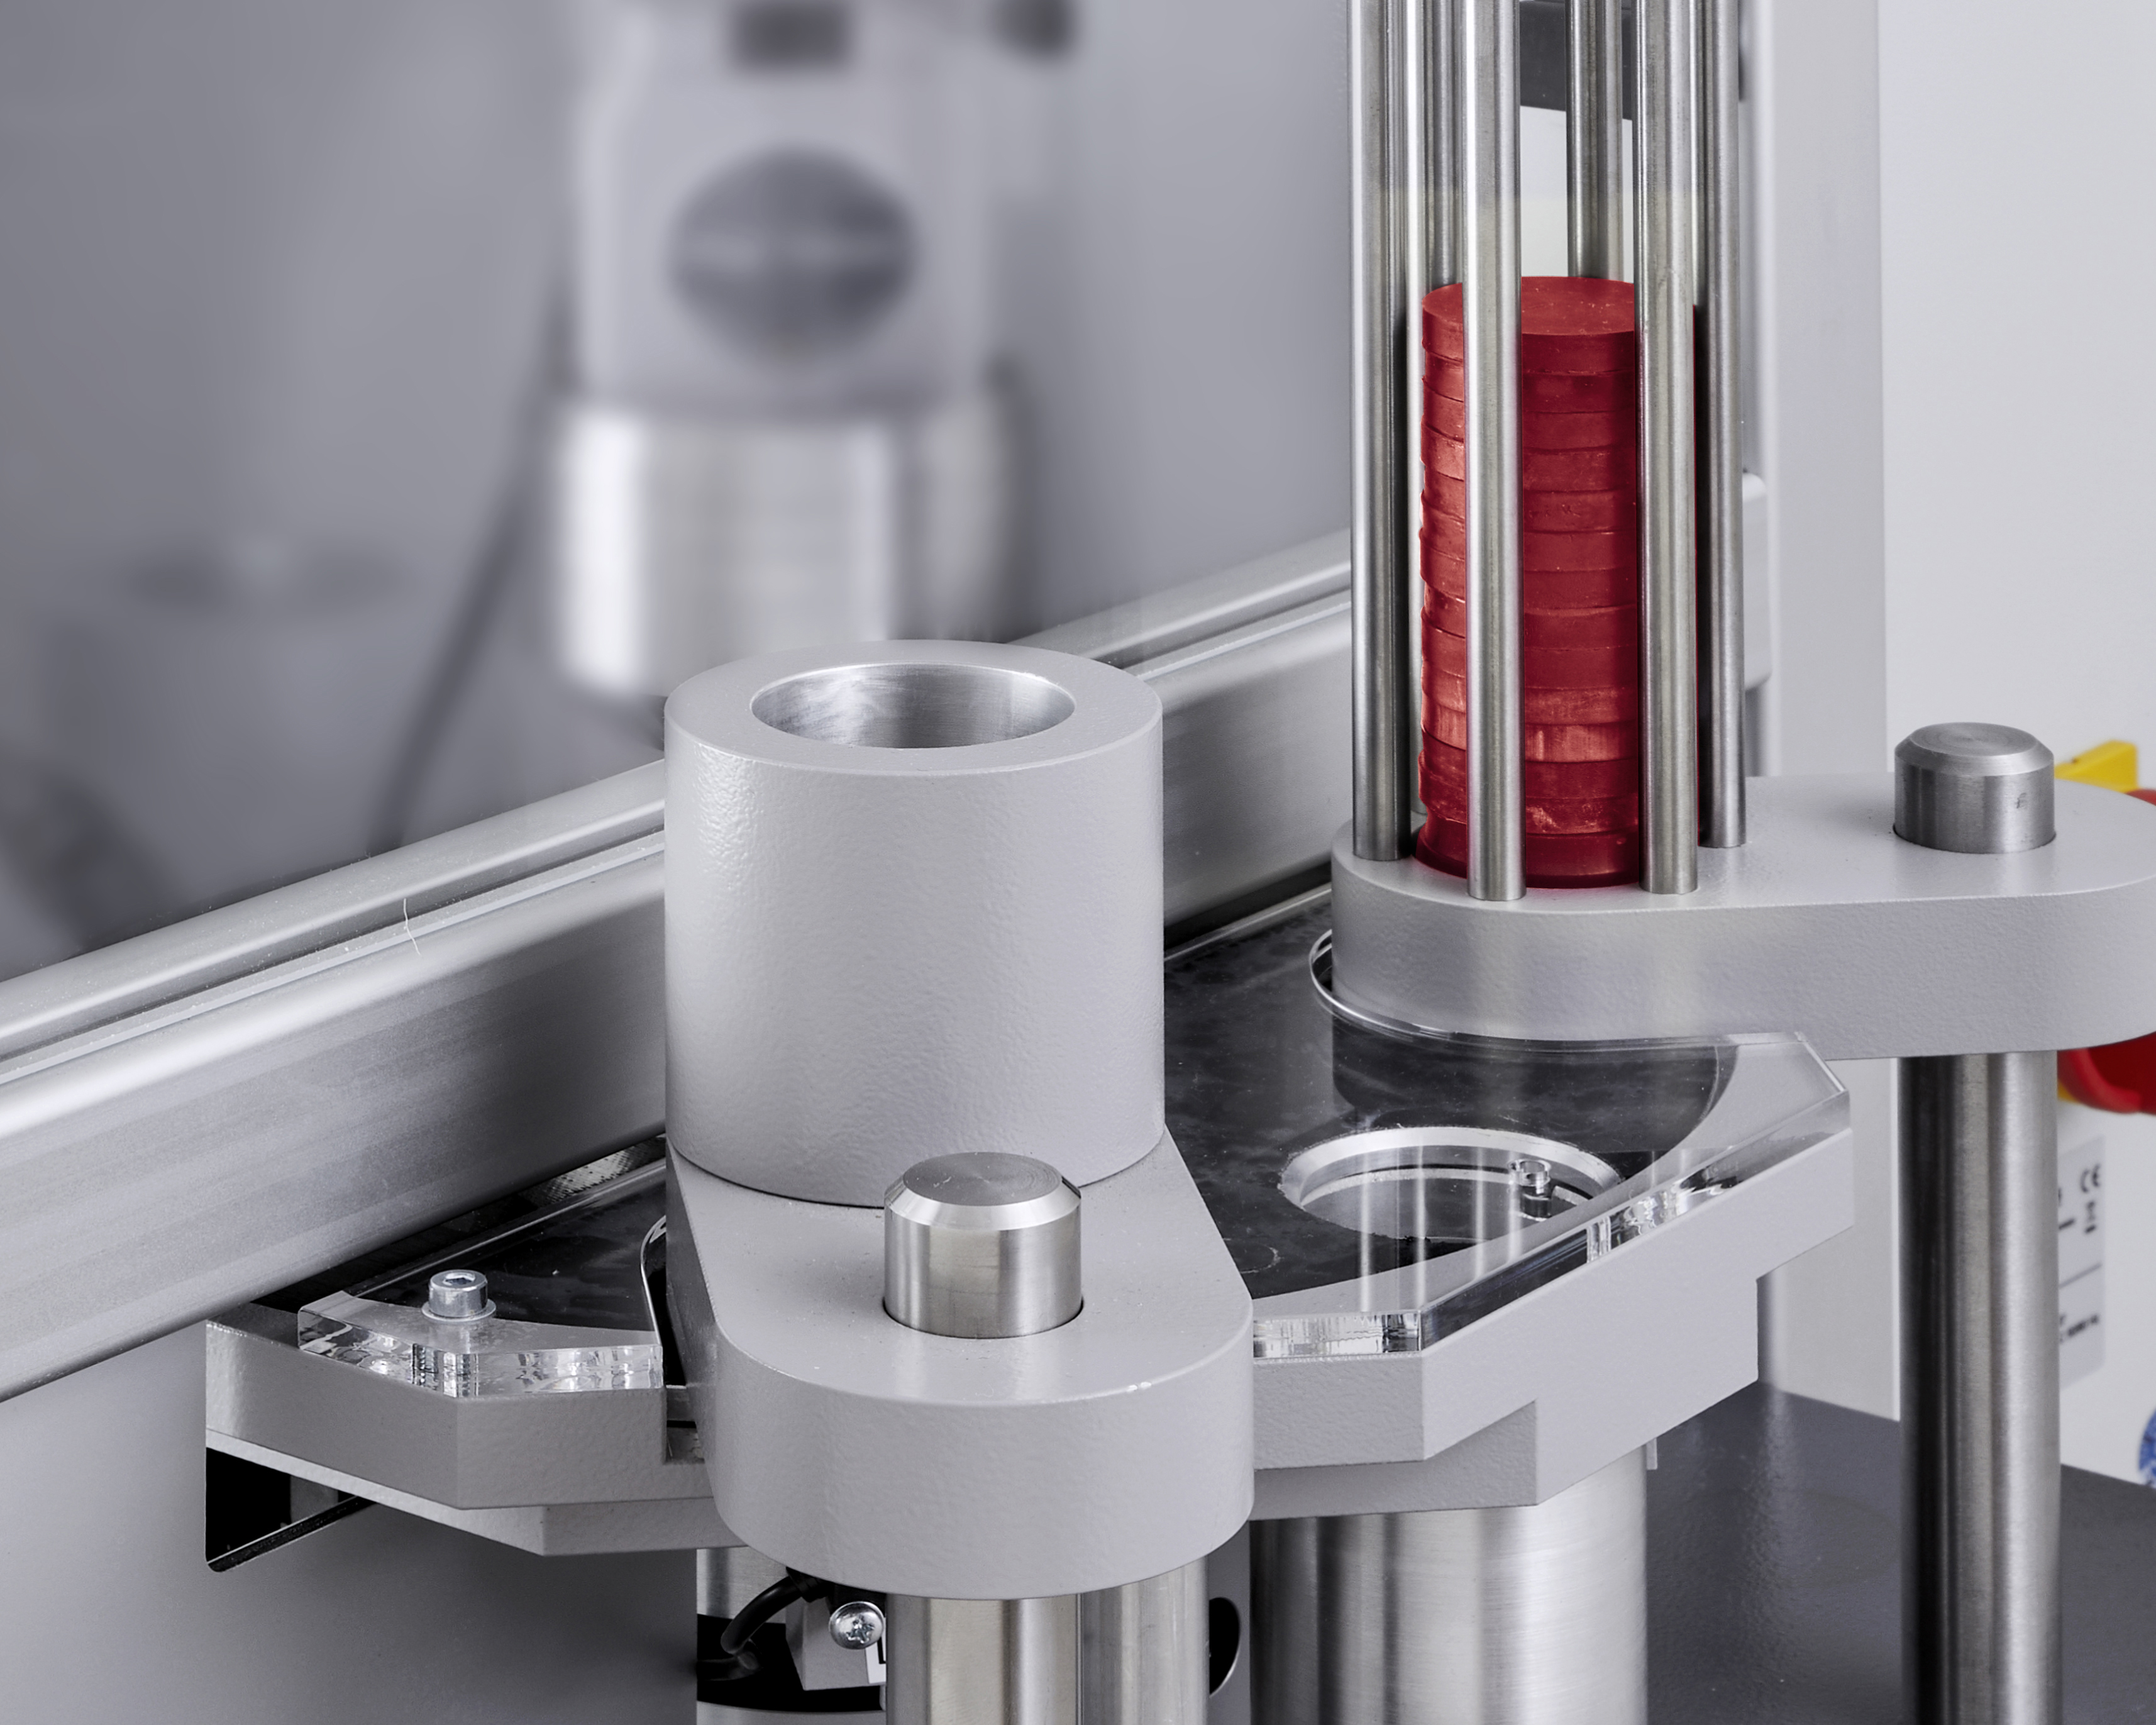
To supply the system with the necessary test specimens, the operator provides the automatic specimen feeder with a maximum of 20 test specimens. The specimens are automatically transported to the work cell. The built-in digi test II
device measures the hardness of the specimen at several points, whereby the customer can choose between Shore A or IRHD N. The specimen is then transported to the automatic density testing, one dry weighing and several wet weighing processes, specified by the operator, are carried out. A second gripper picks up the wet specimen and sorts it according to the specifications. On a side note: the liquid level for the density test is constantly monitored and automatically refilled if necessary.
OK, that is a great idea. With so much automation, another important question comes to mind: what about the safety of the machine?
Of course, for all of our devices, we carry out FMEAs and risk assessments during construction. In this case as well, all of the processes that are potentially dangerous for the user are carried out within a monitored work cell. Only the feeding and removal of the specimens can be undertaken from outside. As a general rule, we protect not only the user from the machine, but also the process and therefore the stability of the measurements from external influences.What are your thoughts on operating the system?
Of course, the step chains are permanently programmed into the PLC. Nonetheless, they are operated via a touch display. This has been designed in such a way that it offers different user levels, so that everyone has access to only what they actually need. In turn, this protects both the operator and the machine. Naturally, there is also a language selection available, and for instance the number of wet weighing processes can be adjusted – the more are performed, the more precise the measured values are going to be, but that also means the entire process will be more time-consuming.Precision is an important keyword. Have the measurements been validated and what can you say about the legal implications?
Of course, both methods have been validated through suitable processes, and compared with the results provided by other measuring devices. Our laboratory is accredited according to ISO 17025 for these measuring ranges, and more
recently also for the domain of scales. This means we can provide the customer with a complete calibration according to ISO 17025 – this ensures a maximum amount of confidence in the measuring machine. As a manufacturer of measuring instruments, I am proud to say this combination is unique in the world!One last question: what happens with the data?
The system can be easily integrated into the company network via Ethernet. As a result, nothing will stand in the way of exchanging data within the company’s own database. We supply a small software tool for the data transmission – the individual further processing falls in the responsibility of the customer, being freely accessible.- normal
Automated determination of hardness and density with the HDA 120
How did you come up with the idea of combining hardness and density testing in one automation?
Generally-speaking, we see ourselves as a very customer-oriented partner on the market. Our customers are aware of this fact, and they always come to us with new ideas and desires. The same thing happened in this case.
Some of these automations are already present on the market. How does your device distinguish from the others?
The HDA 120 test system was developed for use in rough industrials environments. This is also the reason why we have built it using only high-quality components.
In this special case, specimens from a developed tire mixture had to be tested, and these are extremely sticky. Precisely these sticky specimens represented a challenge for the automatic measurement process.
Why does the stickiness of the specimens represent a particular challenge?
I will give you an example: the density is measured through the use of the immersion method. This method uses a scale with an underfloor function, on which a basket system is located, due to the automation. These baskets must be made from very fine wire to guarantee a highly accurate measurement. Now, we want to carry out the measurements to 0.0001 g, so we require high-precision weighing systems for this. The gripper brings a specimen, puts it in the measuring basket, opens the jaws and the specimen sticks to one of the jaws. Worst case scenario, the measuring system will be misaligned after this action.
How did you solve this problem?
In the situation of the grippers, we have developed our own jaws, which eject the specimen through force. Of course, that didn’t function right away, requiring several repetition steps. Special hold-down devices help, for instance, during the hardness testing, to remove the specimen from the pressure plate of the hardness tester.
What does the test sequence of the machine look like?
To supply the system with the necessary test specimens, the operator provides the automatic specimen feeder with a maximum of 20 test specimens. The specimens are automatically transported to the work cell. The built-in digi test II
device measures the hardness of the specimen at several points, whereby the customer can choose between Shore A or IRHD N. The specimen is then transported to the automatic density testing, one dry weighing and several wet weighing processes, specified by the operator, are carried out. A second gripper picks up the wet specimen and sorts it according to the specifications. On a side note: the liquid level for the density test is constantly monitored and automatically refilled if necessary.
OK, that is a great idea. With so much automation, another important question comes to mind: what about the safety of the machine?
Of course, for all of our devices, we carry out FMEAs and risk assessments during construction. In this case as well, all of the processes that are potentially dangerous for the user are carried out within a monitored work cell. Only the feeding and removal of the specimens can be undertaken from outside. As a general rule, we protect not only the user from the machine, but also the process and therefore the stability of the measurements from external influences.
What are your thoughts on operating the system?
Of course, the step chains are permanently programmed into the PLC. Nonetheless, they are operated via a touch display. This has been designed in such a way that it offers different user levels, so that everyone has access to only what they actually need. In turn, this protects both the operator and the machine. Naturally, there is also a language selection available, and for instance the number of wet weighing processes can be adjusted – the more are performed, the more precise the measured values are going to be, but that also means the entire process will be more time-consuming.
Precision is an important keyword. Have the measurements been validated and what can you say about the legal implications?
Of course, both methods have been validated through suitable processes, and compared with the results provided by other measuring devices. Our laboratory is accredited according to ISO 17025 for these measuring ranges, and more
recently also for the domain of scales. This means we can provide the customer with a complete calibration according to ISO 17025 – this ensures a maximum amount of confidence in the measuring machine. As a manufacturer of measuring instruments, I am proud to say this combination is unique in the world!
One last question: what happens with the data?
The system can be easily integrated into the company network via Ethernet. As a result, nothing will stand in the way of exchanging data within the company’s own database. We supply a small software tool for the data transmission – the individual further processing falls in the responsibility of the customer, being freely accessible.

Trade fair appearances 2024
We look forward to presenting our appliances and innovations to you in person again this year.
Chinaplas Shanghai, China
Meet us in Shanghai from April 23-26, 2024, Booth H18.
DKT Nuremberg, Germany
Meet us from July 1 - 4, 2024 in Nuremberg, Hall 9, Booth 535.

Automated determination of hardness and density with the HDA 120
Read the interview with Bareiss Managing Director Oliver Wirth to find out everything you need to know about our HDA 120 combined hardness-density machine for determining the hardness and density of flat test specimens made of rubber-elastic, non-foamed plastics, elastomers and other rubber products.
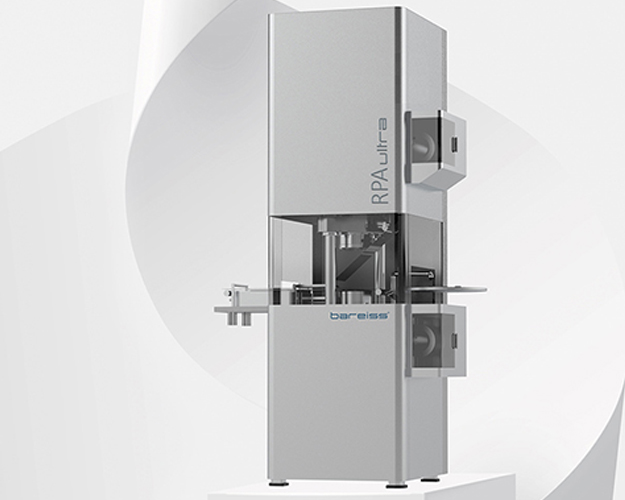
RPA ultra – The future of material testing starts now.
RPA ultra - The future of materials testing at starts now. Discover our world novelty.
